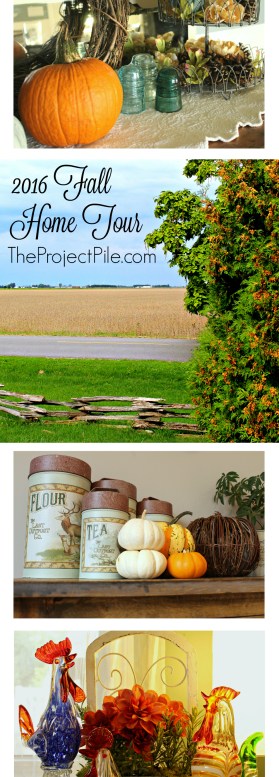
 Welcome to my home! This is actually the Project Pile’s very first fall home tour — ever! Fall is my favorite season decorating-wise, (and winter is, snowmobiling-wise!)… So I’m very excited to share this post with you!
Let’s start outside!

This is the front yard… not a whole lot going on out here yet, but I still love the view! The soy-a-beans are just about ready, and as soon as this rain clears up, I expect that the farmer will be out and ready to harvest them… My little girl Lacee, just loves tractors and combines, and will sit on the front porch and watch once the time comes. (Please ignore the un-mowed grass in this pic! We’ll just blame that on the rain, for now!)

This is the backyard, and as you can see, the leaves are just starting to turn… Maybe another week and they will be all ready?! Then we can rake and jump in them!

And here is my actual home… Come on in!

This year, I decided to decorate my front porch with some of my old antique pieces that I have been collecting over the years…

Here is my antique wagon wheel, and a few of my antique bottles that have been collected on my family’s 180-year old farm, over the years.

And here is my antique milk-can, also from the farm, and an antique ladder, from that area.

You can check out my full front porch décor here: A Rustic Fall Front Porch, using Some of my Favorite Antique Pieces!

From the front porch, let’s enter into the dining room! Just a little fall décor in here, so far. I still have to do my table-setting, but being the master-procrastinator that I am, probably won’t get it finished till the night before Thanksgiving! I just did a little decorating on the buffet in this room…

A few pine cones and flowers here…

A few hand-painted and real pumpkins there!
[Psst! You can learn how to hand-paint your own pumpkins here: How To Transform Dollar Store Pumpkins!]

You can see my full buffet décor, and learn how I put this look together, here: A Quick & Easy Fall Buffet Makeover!

Now let’s mosey on down to the living room! Sorry, the lighting is a little more than off, in here… I love my big, beautiful front porch, but it really seems to hamper the photo-taking quality in this room… Oh well, what can you do?!
 On the way down, we pass my antique barn windows that were used as the seating plan for wedding…

All I did here, was switch out my regular white rose garland for some leafy-red sunflowers, and then hung a very simple wreath in the middle. Very colorful, and yet a really, really, simple update for fall!

These are my chickens! I actually stole these from my mother! I love them so much, they stay out all year, no matter the season. All I did here to dress them up for fall, was switch out the flowers in my faux flower box for some fall colored ones.

I did the same thing for this side-table… just added some more rusty-colored flowers for fall, plus my deer head!

Oh, and a few cutesy, little pumpkins too!

Oh… and just in case you wanted to see what the other half of my living room looks like, (the half that I always try to hide from you), here it is… Toy City, over here! LOL

Let’s head to the kitchen now!

Again, just some very simple fall season updates in here!

Pretty, mini pumpkins here…
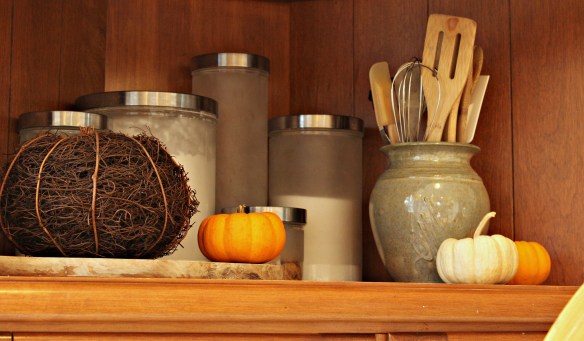
Plus a few wicker pumpkins there!

Oh – and let’s not forget my 2 second kitchen table centerpiece! All I did here, was take the leaves off of an old fall garland that I had kicking around, and stuff them into this transparent vase… Doesn’t get much easier than that!
OK… are you ready for my fall bedroom décor?!
Just kidding! I really wanted that to happen, but let’s face it… I’m just not that good! 😉
I really hope you enjoyed this “a little fall here, a little fall there,” 2016 Home Tour! Thanks for stopping by the Project Pile!