My Dollar Store Christmas Tree! Wait….. What??!

8
This year I decided that I was going to make all of the decorations for my Christmas tree — yes, make…. and well, how did that go, you ask…. HA!

So umm…. scratch that!

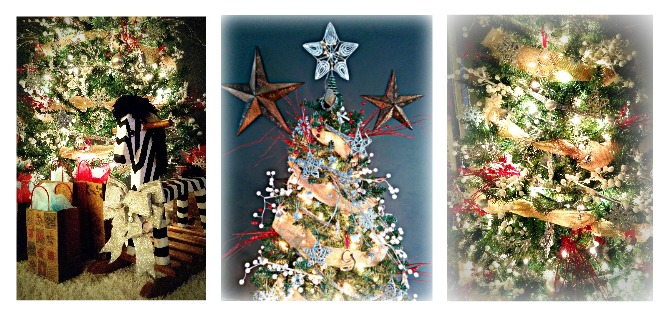
Welcome to my new post…. about how to decorate your Christmas tree with Dollar Store decorations! Yes, it is possible…. and yes — I am SO in love with the results!

Before I get to far into my post, I would like to point out that my inspiration for this tree, my burlap garland, did not come from the dollar store…. but it was the perfect foundation for me to build my dollar store decorations upon!

The colors that I selected to go with my burlap garland were 1. Silver, 2. White, and 3. Red. The reason why I chose these colors is because I knew that they would be easy to find… plus they are just like, so pretty!

I was able to find the cutest (and sparkly-est!) Silver ornaments at the dollar store…. pine-cones, sparkly stars, snowflakes, angels, bells, and my star-tree-topper, (also sparkly!). Then I found glittery, wispy fake-flower-thingies that came in both silver and red! To add white into the mixture, I found these other snow-ball fake-flower-thingies…. perfect!

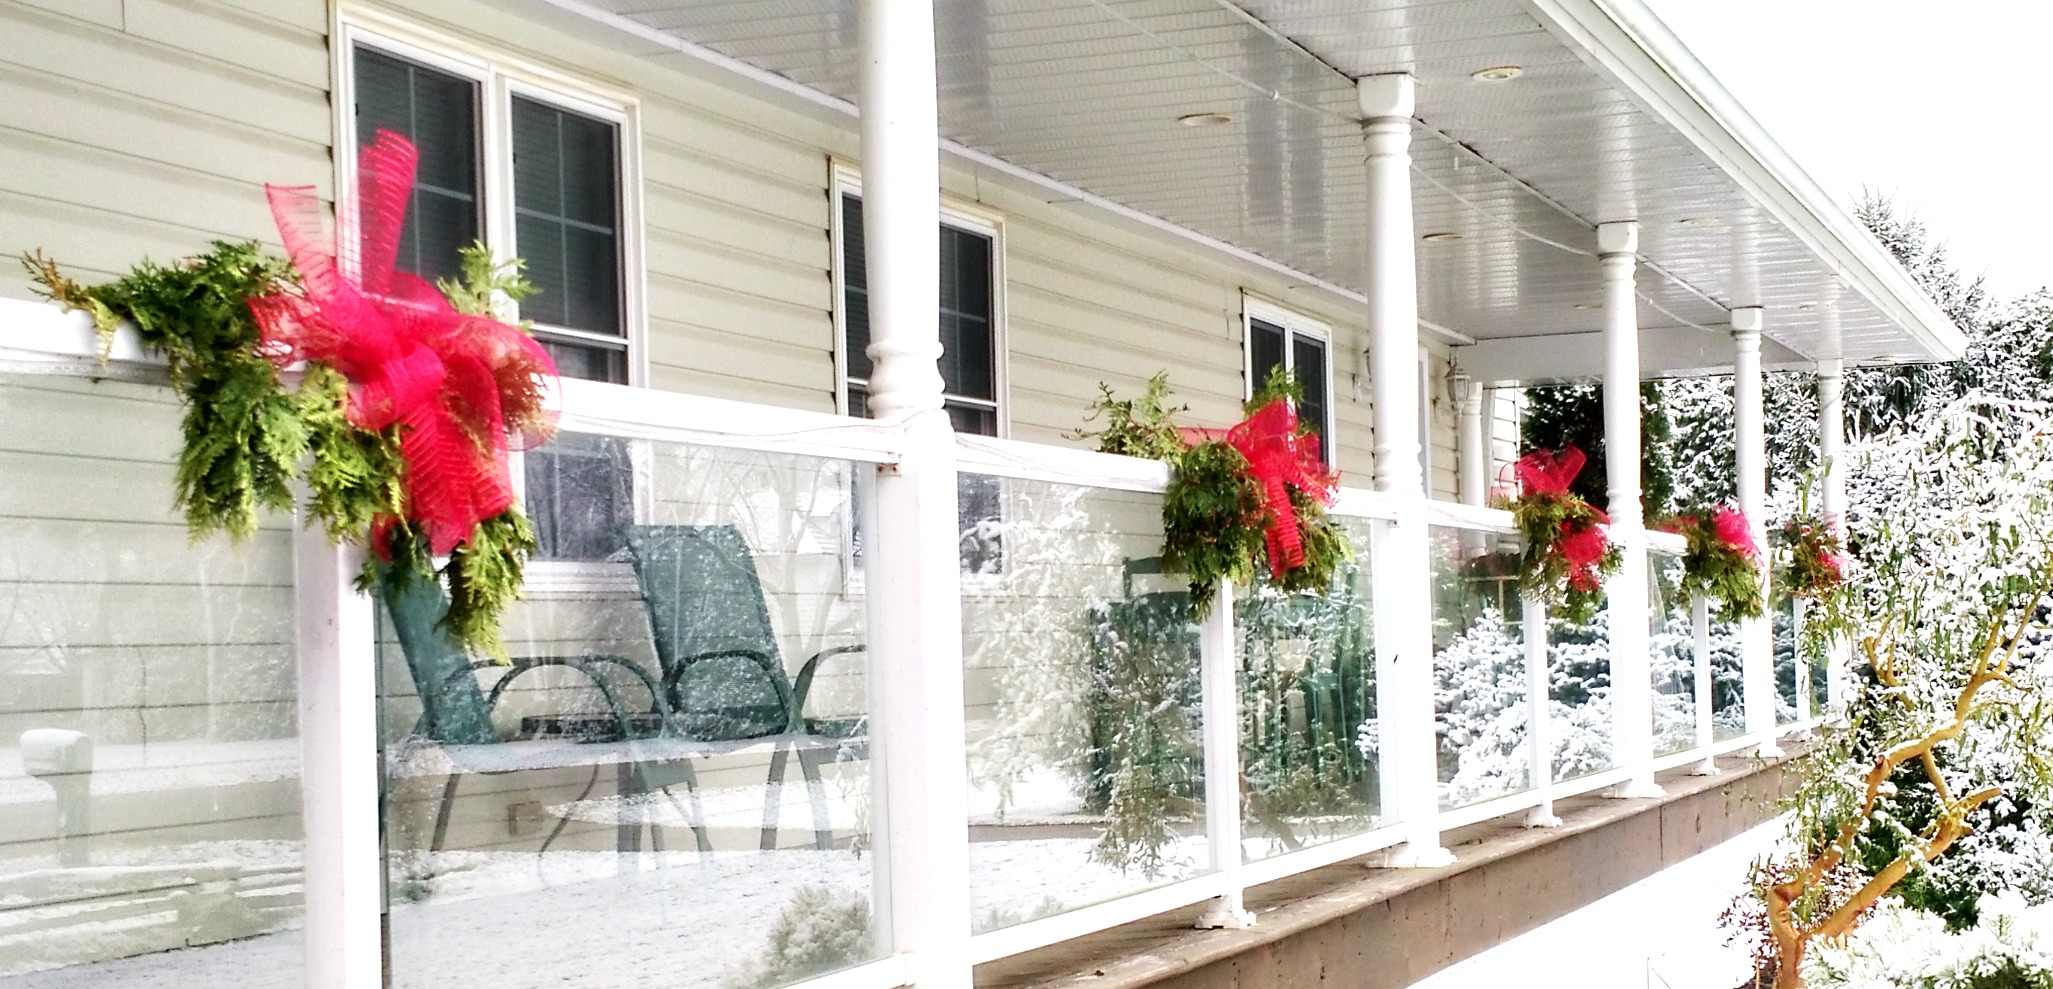
Now I must say, my tree does look a million times better in person…. but I still had to share. Maybe I’ll find that shiny new camera under the tree, Christmas morning?! (Hint, hint Matt!) 😉


The 2-Minute Bow!

1

This is seriously, the easiest bow to make — Ever!!! And the best part is…. that it takes only two minutes to make, and it looks totally professional!

All you need is some geo-mesh, scissors, a pair of pliers, and some wire.

Step 1: Cut the geo-mesh into 3 inch strips. You will need 5 to 6 of these strips per bow.

Step 2: Take all of your strips and gather them in the middle with a piece of wire.

Step 3: Hang and fluff!1

Done…. Yes — It’s that easy! 😉

Christmas Home Tour – Part I – The Dining Room

Come on in! Welcome to TheProjectPile.com’s Christmas Home Tour — In fact, welcome to our very first home tour, ever! If you are looking for something extremely extravagant and done up to the “nines”, this may not be for you… Most of the Christmas Decor within our home has either been up-cycled from previous years, found in the backyard (Nature Things — Yah!), or it came from the good ol’Dollar Store! With pops of red here, and a sprig of greenery there — I hope you enjoy!

4
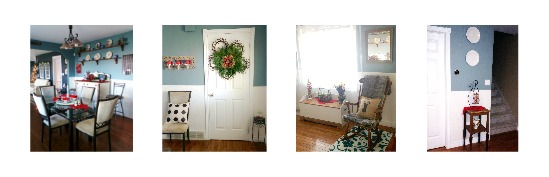
This super-cozy, yet simple corner, is my favorite place to sit and read a magazine, or just take some time out of my busy day to relax. Believe it or not, this solid-wood rocking-chair came from a thrift store for 25 dollars, and is totally one of the best 25 dollars that I ever spent! I used a faux fur blanket and a hand-made burlap pillow to make this area soft and comfy!13

To “Christmas-Up” this area, I simply recycled last year’s Christmas Decor by placing the Christmas ornaments into the clear glass holders, that would normally house my regular dining room decor. Such a simple concept, that adds the perfect combination of Christmas and “Sparkle” all in one! 18I purchased one bunch of “Fresh Winter Berries” for 13 dollars, and look at the result! A sprig here and there, totally ties the room together!2I’ve had these little snowman salt and pepper shakers for a coupe of years now, just sitting on the top of my microwave — shoved to the back, where nobody could see them… and I must say, they are my favorite piece of decor this year!
6My lovely nephews gave us this adorable “Joy, Joy, Joy” (one of the songs that they always sang when they were little!), Snowman Plate (sorry, it’s kind of hard to see with the way the light is reflecting!)…. It is the perfect finishing touch to my hutch decor.  

Adding some old red napkins underneath certain pieces in the room was the final detail used to bring everything together! I really hope that you enjoyed Part I of this home tour…. Remember to stop on by TheProjectPile.com to check out more! 🙂27

Toilet Paper Snowman!

10

OK… Today I decided to become a super-creative-genius! My husband doesn’t necessarily agree, ha — but come on…. this little guy is pretty-darn cute! Even better, he took like 5 seconds to make! (Ok, maybe like 5 minutes, but you get the point!)

All you need:

3 Toilet Paper Rolls

Black & Orange Markers

Mr. Potato’s Hat (Yes, that’s right… I stole my kids Mr. Potato hat — Genius!)

All I did was color on my snowman’s eyes, mouth, nose, buttons, arms and shoes… stuck a hat on top, and Viola! I hope that you enjoyed this super-simple, super-cute, super-fast, way to “Christmas-Up” the guest bathroom!