DIY Christmas Tree Garlands

01

Are you having trouble finding the perfect garland for your Christmas tree? Or perhaps you are just a little bit tired of the shiny tinsel garlands that just seem to be everywhere… Either way, the perfect garland can be hard to come by, and a garland can either make or break your Christmas tree!

If you’re having trouble finding the perfect garland, then why not make your own?! That’s why I’ve compiled this list of very easy DIY garlands that you can easily make yourself!

Whether your style is fancy, natural, rustic, classic, or just plain easy, there is something on this list just for you! And remember, you can take these different DIY garland ideas and apply your own color scheme to them or even put your own creative twist on them to make them just perfect for your tree!

Pretty Burlap Garland devised by Simply Notable

01-burlap-garland

DIY Deco Mesh Garland devised by The Bajan Texan

02-deco-mesh

DIY Cotton Ball Pom Pom Garland devised by Home Remedies

03-cotton-balls

The Easiest Tree Garland Ever devised by Scout & Nimble

04-easiest-garland

DIY White Feather Boa Garland devised by The Project Pile (This is what I came up with this year, and I just love it! Next year I’m thinking of maybe trying the same idea, only in either red or black… Can’t wait! Would you like to check out the rest of my Christmas tree decorations and ornaments?! You can read all about how I decided to spend a little more money on my Christmas decorations this year, and how I very carefully chose each ornament, and where exactly I found them, right here!)

02

Easy Cowboy Garland devised by North Pole West

05-cowboy

DIY Wine Cork Garland devised by Fun Holiday Crafts

06-wine-cork

DIY Dried Orange Garland devised by Garden Matter

07-dried-fruit

Paper Garland devised by A Cup of Thuy

08

Old Fashioned Popcorn Garland devised by For Rent.com

09-popcorn

2 Minute Pork Chop Marinade!

2 Minute Pork Chop Marinade! This is quick, easy, and delicious! #Marinade #PorkChop #MealIdeas

This 2 Minute Pork Chop Marinade is quick, easy, and tastes delicious! It is the perfect recipe to whip up after a long day of hard work, or if you are into meal planning, you can also make this marinade ahead of time too! 


On the weekend I decided that I would try “online ordering” from M&M Meat Shops, and let me tell you, what an amazing shopping experience it was! By ordering online, I was able to browse through all of their products, easily search for specific ones, view and compare their weekly deals and easily stick to my budget! Continue reading

Ten Minute Tuna Pasta Salad!

Ten Minute Tuna Pasta Salad!


Tonight I thought that I would share with you one of my favorite, go-to side dishes… Tuna Pasta Salad! The best part about this salad is that it can easily be ready in just ten minutes!


Summer is finally here! BBQ’s and summer get-together’s are in the air!


This salad always knows how to get me out of a jam when I come home late from work and have to be somewhere ASAP.


This pasta salad is also always there for me when I forget to plan out dinner and need something quick and tasty.


If salads could be besties… than this one would be mine!


All you need is:

  • 1/2 a bag of Pasta (I prefer small shells for this pasta, but just about any type will do!)
  • 1 can of Tuna
  • 1/4 cup of chopped Green or Regular Onions (Whichever you have on hand!)
  • 1/4 cup of chopped Celery
  • 2/3 cup of Mayo
  • 6 dashes of Hot Sauce
  • Pepper


Step One: The very first thing I do in order to get the ball rolling for this pasta is get my water boiling, and my pasta on.


Step Two: While the pasta is cooking, I take full advantage of the time, and get my veggies (onions and celery), all chopped up and into a big bowl.


Step Three: Next I drain my can of tuna, and then add it to my big bowl.


Step Four: I then throw in my mayo and hot sauce. My favorite mayo to use is Hellman’s because I love “salty”, but any type of mayo will work!


Step Five: As soon as my pasta is soft, I then pour it into a big strainer. I usually let my pasta cook for about 7 minutes, but you can check your packaging for exact timing!


Step Six: I run cold water all over my pasta, and stir it with a spoon while doing so. This really helps it cool down fast…. A great trick for when you are always late like me, or just in a huge hurry!


Step Seven: After your pasta is cool and drained, add it into the big bowl and mix, mix, mix!


Step Eight: Place pasta into your favorite serving dish, garnish with celery leaves, sprinkle with pepper, and enjoy!


Tip: This salad keeps very well if you wanted to make it a day ahead, or eat the yummy leftovers for lunch the next day!


MORE GREAT RECIPES TO TRY!

Meal Planning – A How-To Guide

2 Minute Pork Chop Marinade!

Steak Marinade! Perfect for Grilling!

Creamy Mushroom Steak Sauce

Guacamole Recipe (Quick, Easy and Delicious!)


Ten Minute Tuna Pasta Salad!


*This post may contain affiliate links.

Healthy, Easy, Yummy — Apple Chutney!

Healthy, Easy, Yummy — Apple Chutney!

Prep Time: 5 minutes, Bake Time: 10 minutes

Hello, hello everyone! It’s been a little while since the Project Pile has done a recipe… we have just been so busy around here! Last September I started teaching at our local college, then I starting working on another “project” for another company here in town…. Plus, we are now expecting again — Yes, expecting! So, now it’s the end of the school year, I thought that I would share this really yummy, really easy and healthy apple chutney recipe that I came up with last week when I had to quickly throw together one of those last minute, yet super delicious, home-cooked meals!

I needed the perfect side to go with my pork chops…. something fresh, crisp and summery…. and then it came to me — Apple chutney! Now, here’s the interesting part, the part where my chutney differs a little bit from other recipes…. there is no vinegar in this chutney recipe at all! The vinegar is actually replaced with cranberry juice, which allows the amount of sugar required to be significantly reduced, therefore making it much healthier than your typical chutney recipes! 🙂

So here it goes — hope you enjoy!

All you need is:

  • 3 diced Apples
  • 1/4 cup of Cranberry Juice
  • 1/4 cup of diced Onions
  • 1/4 cup of Sunflower Seeds
  • 1/4 cup of Cranberries
  • 1 tsp of Butter or Margarine
  • 1 tsp of Brown Sugar
  • 1/2 tsp of cinnamon

Step One: In a small or medium sized frying pan, saute onions on medium heat in the butter or margarine, until golden-brown.

Tip: Add any extra seasoning that you like during the sauteing process, for extra flavor!

Step Two: Add the apples, cinnamon and cranberry juice. Bring to a boil, then cover and let simmer for seven minutes, or until the apples are soft.

Tip: The cooking time will vary depending on the type of apples that you use. The softer the apple, the less time it will take for them to soften.

Step Three: Stir in the brown sugar and simmer for about two more minutes.

Tip: The addition of the brown sugar won’t only sweeten the mixture, but it will help to thicken it a little too, as it cools.

Step Four: Remove the mixture from heat, and add the sunflower seeds and dried cranberries — Then serve and enjoy!

Tip: It’s best to add the cranberries and sunflower seeds at the very end of the process, otherwise they may harden.

1


The 2-Minute Bow!

1

This is seriously, the easiest bow to make — Ever!!! And the best part is…. that it takes only two minutes to make, and it looks totally professional!

All you need is some geo-mesh, scissors, a pair of pliers, and some wire.

Step 1: Cut the geo-mesh into 3 inch strips. You will need 5 to 6 of these strips per bow.

Step 2: Take all of your strips and gather them in the middle with a piece of wire.

Step 3: Hang and fluff!1

Done…. Yes — It’s that easy! 😉

3 Ingredient MeatLoaf (2 Minute Prep, 1 Hour Bake)

3 Ingredient MeatLoaf (2 Minute Prep, 1 Hour Bake Time) #Meatloaf #3IngredientRecipes #Recipes


Ok… The secret is out! You can make the most delicious meatloaf with only 3 ingredients … Yes, literally THREE INGREDIENTS! This meatloaf is also a major winner because it takes only one hour to bake, and like two seconds to throw together! Well, ok, maybe like two minutes… but still — Amazing!


3 Ingredient MeatLoaf – Prep Time: 2 Min, Bake Time: 1 Hour


I make this meatloaf all of the time for my family when I am in a rush, but still looking for something tasty and hearty. And its definitely my go-to meal for when my father-in-law stops by! Continue reading

Cedar Boughs! – A How-To-Guide

1

Why spend money on Christmas decor, when you can simply make your own? Here’s how to create the Perfect Cedar Bough!

Step 1: Gather your cedar bows. Cedar trees are a very popular North-American tree that you can find growing just about anywhere!

Step 2: Take your cedar boughs and line them up end to end, overlapping the ends about 3 or 4 inches. Layer as many boughs as you like on top of each other until you get a nice “full” look.

Step 3: Cut about a 3 or 4 inch strip of wire and wrap it around the bow ends. Take the ends of the wire in a pair of pliers, and twist. (Be careful, if you twist the wire too  much it may break off!)

Step 4: Hang and decorate as you please! 🙂

2

Christmas Home Tour – Part I – The Dining Room

Come on in! Welcome to TheProjectPile.com’s Christmas Home Tour — In fact, welcome to our very first home tour, ever! If you are looking for something extremely extravagant and done up to the “nines”, this may not be for you… Most of the Christmas Decor within our home has either been up-cycled from previous years, found in the backyard (Nature Things — Yah!), or it came from the good ol’Dollar Store! With pops of red here, and a sprig of greenery there — I hope you enjoy!

4This super-cozy, yet simple corner, is my favorite place to sit and read a magazine, or just take some time out of my busy day to relax. Believe it or not, this solid-wood rocking-chair came from a thrift store for 25 dollars, and is totally one of the best 25 dollars that I ever spent! I used a faux fur blanket and a hand-made burlap pillow to make this area soft and comfy!13

To “Christmas-Up” this area, I simply recycled last year’s Christmas Decor by placing the Christmas ornaments into the clear glass holders, that would normally house my regular dining room decor. Such a simple concept, that adds the perfect combination of Christmas and “Sparkle” all in one! 18I purchased one bunch of “Fresh Winter Berries” for 13 dollars, and look at the result! A sprig here and there, totally ties the room together!2I’ve had these little snowman salt and pepper shakers for a coupe of years now, just sitting on the top of my microwave — shoved to the back, where nobody could see them… and I must say, they are my favorite piece of decor this year!
6My lovely nephews gave us this adorable “Joy, Joy, Joy” (one of the songs that they always sang when they were little!), Snowman Plate (sorry, it’s kind of hard to see with the way the light is reflecting!)…. It is the perfect finishing touch to my hutch decor.  

Adding some old red napkins underneath certain pieces in the room was the final detail used to bring everything together! I really hope that you enjoyed Part I of this home tour…. Remember to stop on by TheProjectPile.com to check out more! 🙂27

A Sneak-Peek of my Christmas Decor!

Oh boy, Christmas decorating with a crazy-busy toddler around, ahhh…. not so easy! LOL… But a lot of fun!7

We have been working super hard to get out our Christmas decor, so we can give you a virtual Christmas-Home tour this year! Here is a teeny-tiny sneak-peek of what is “more-to-come”…2
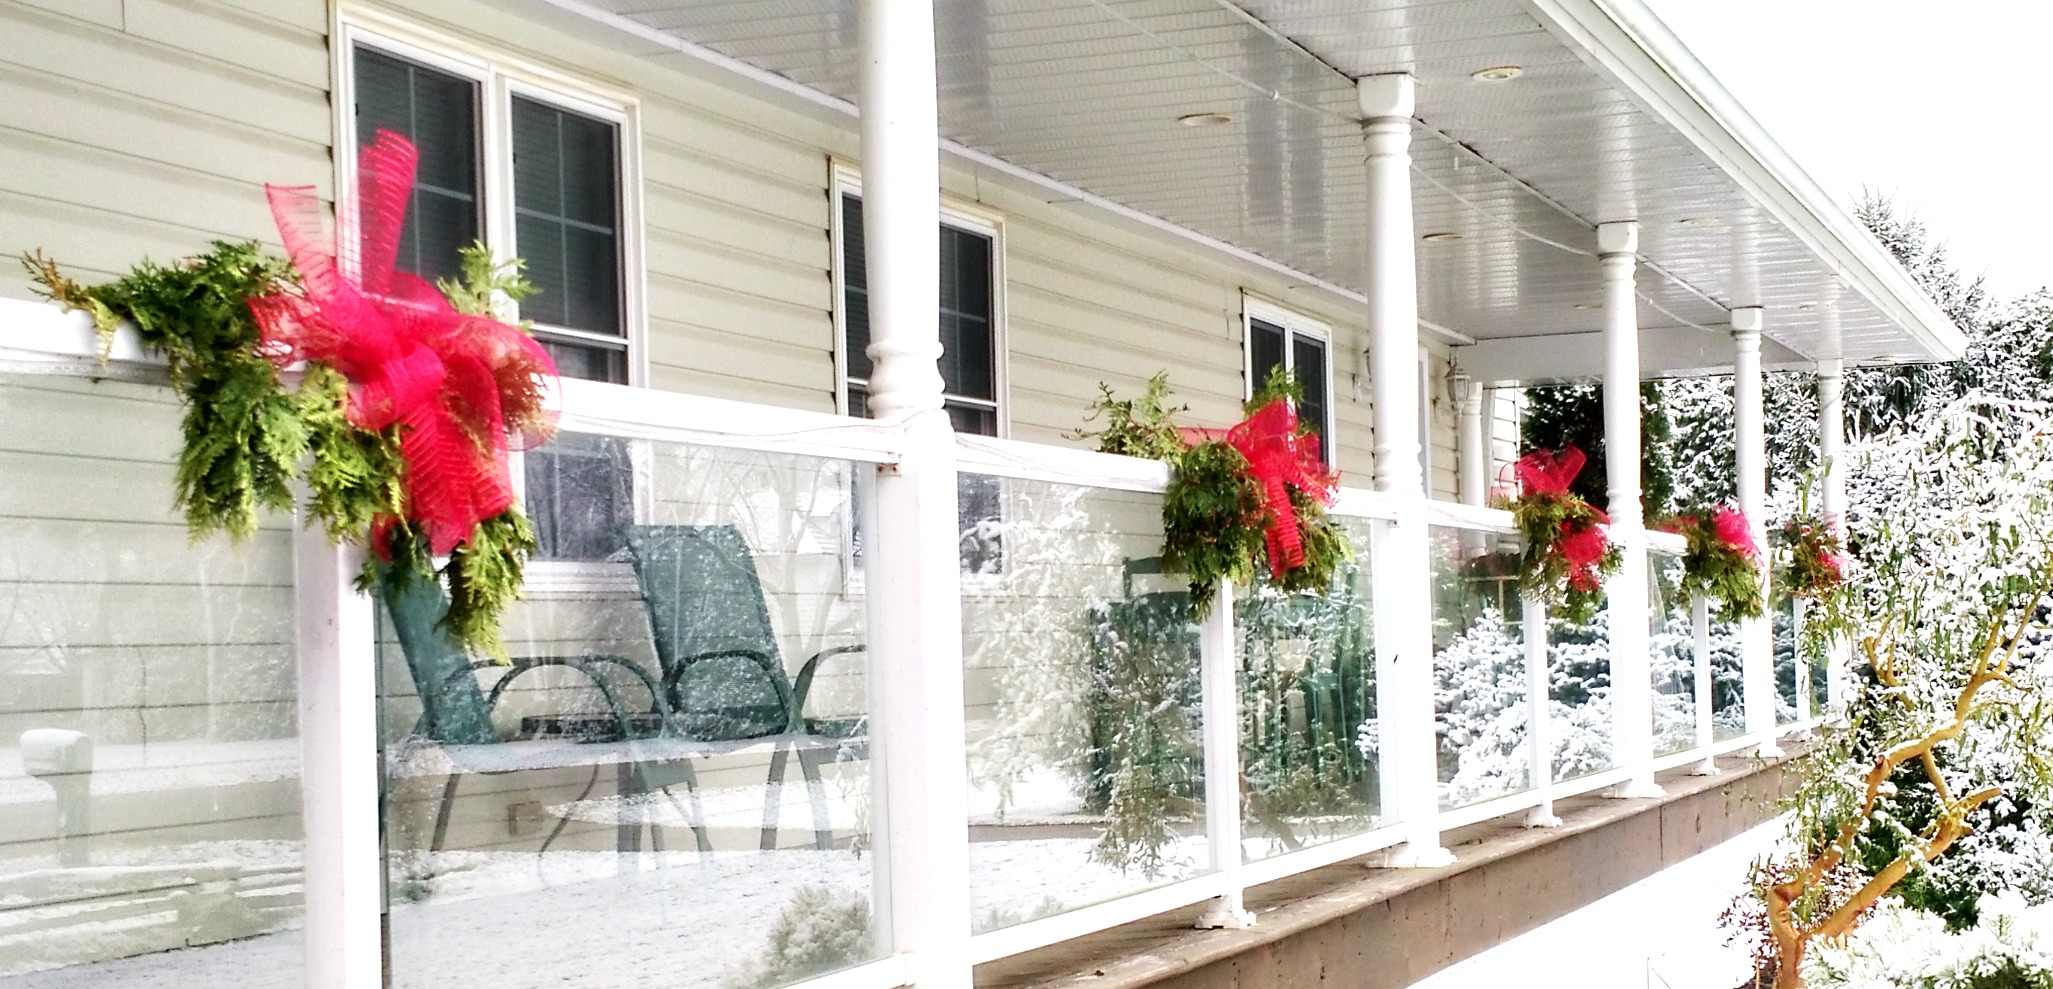
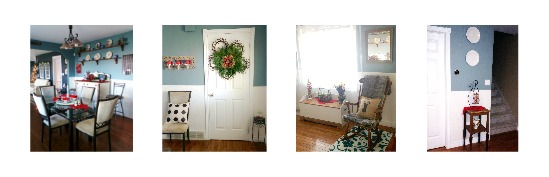
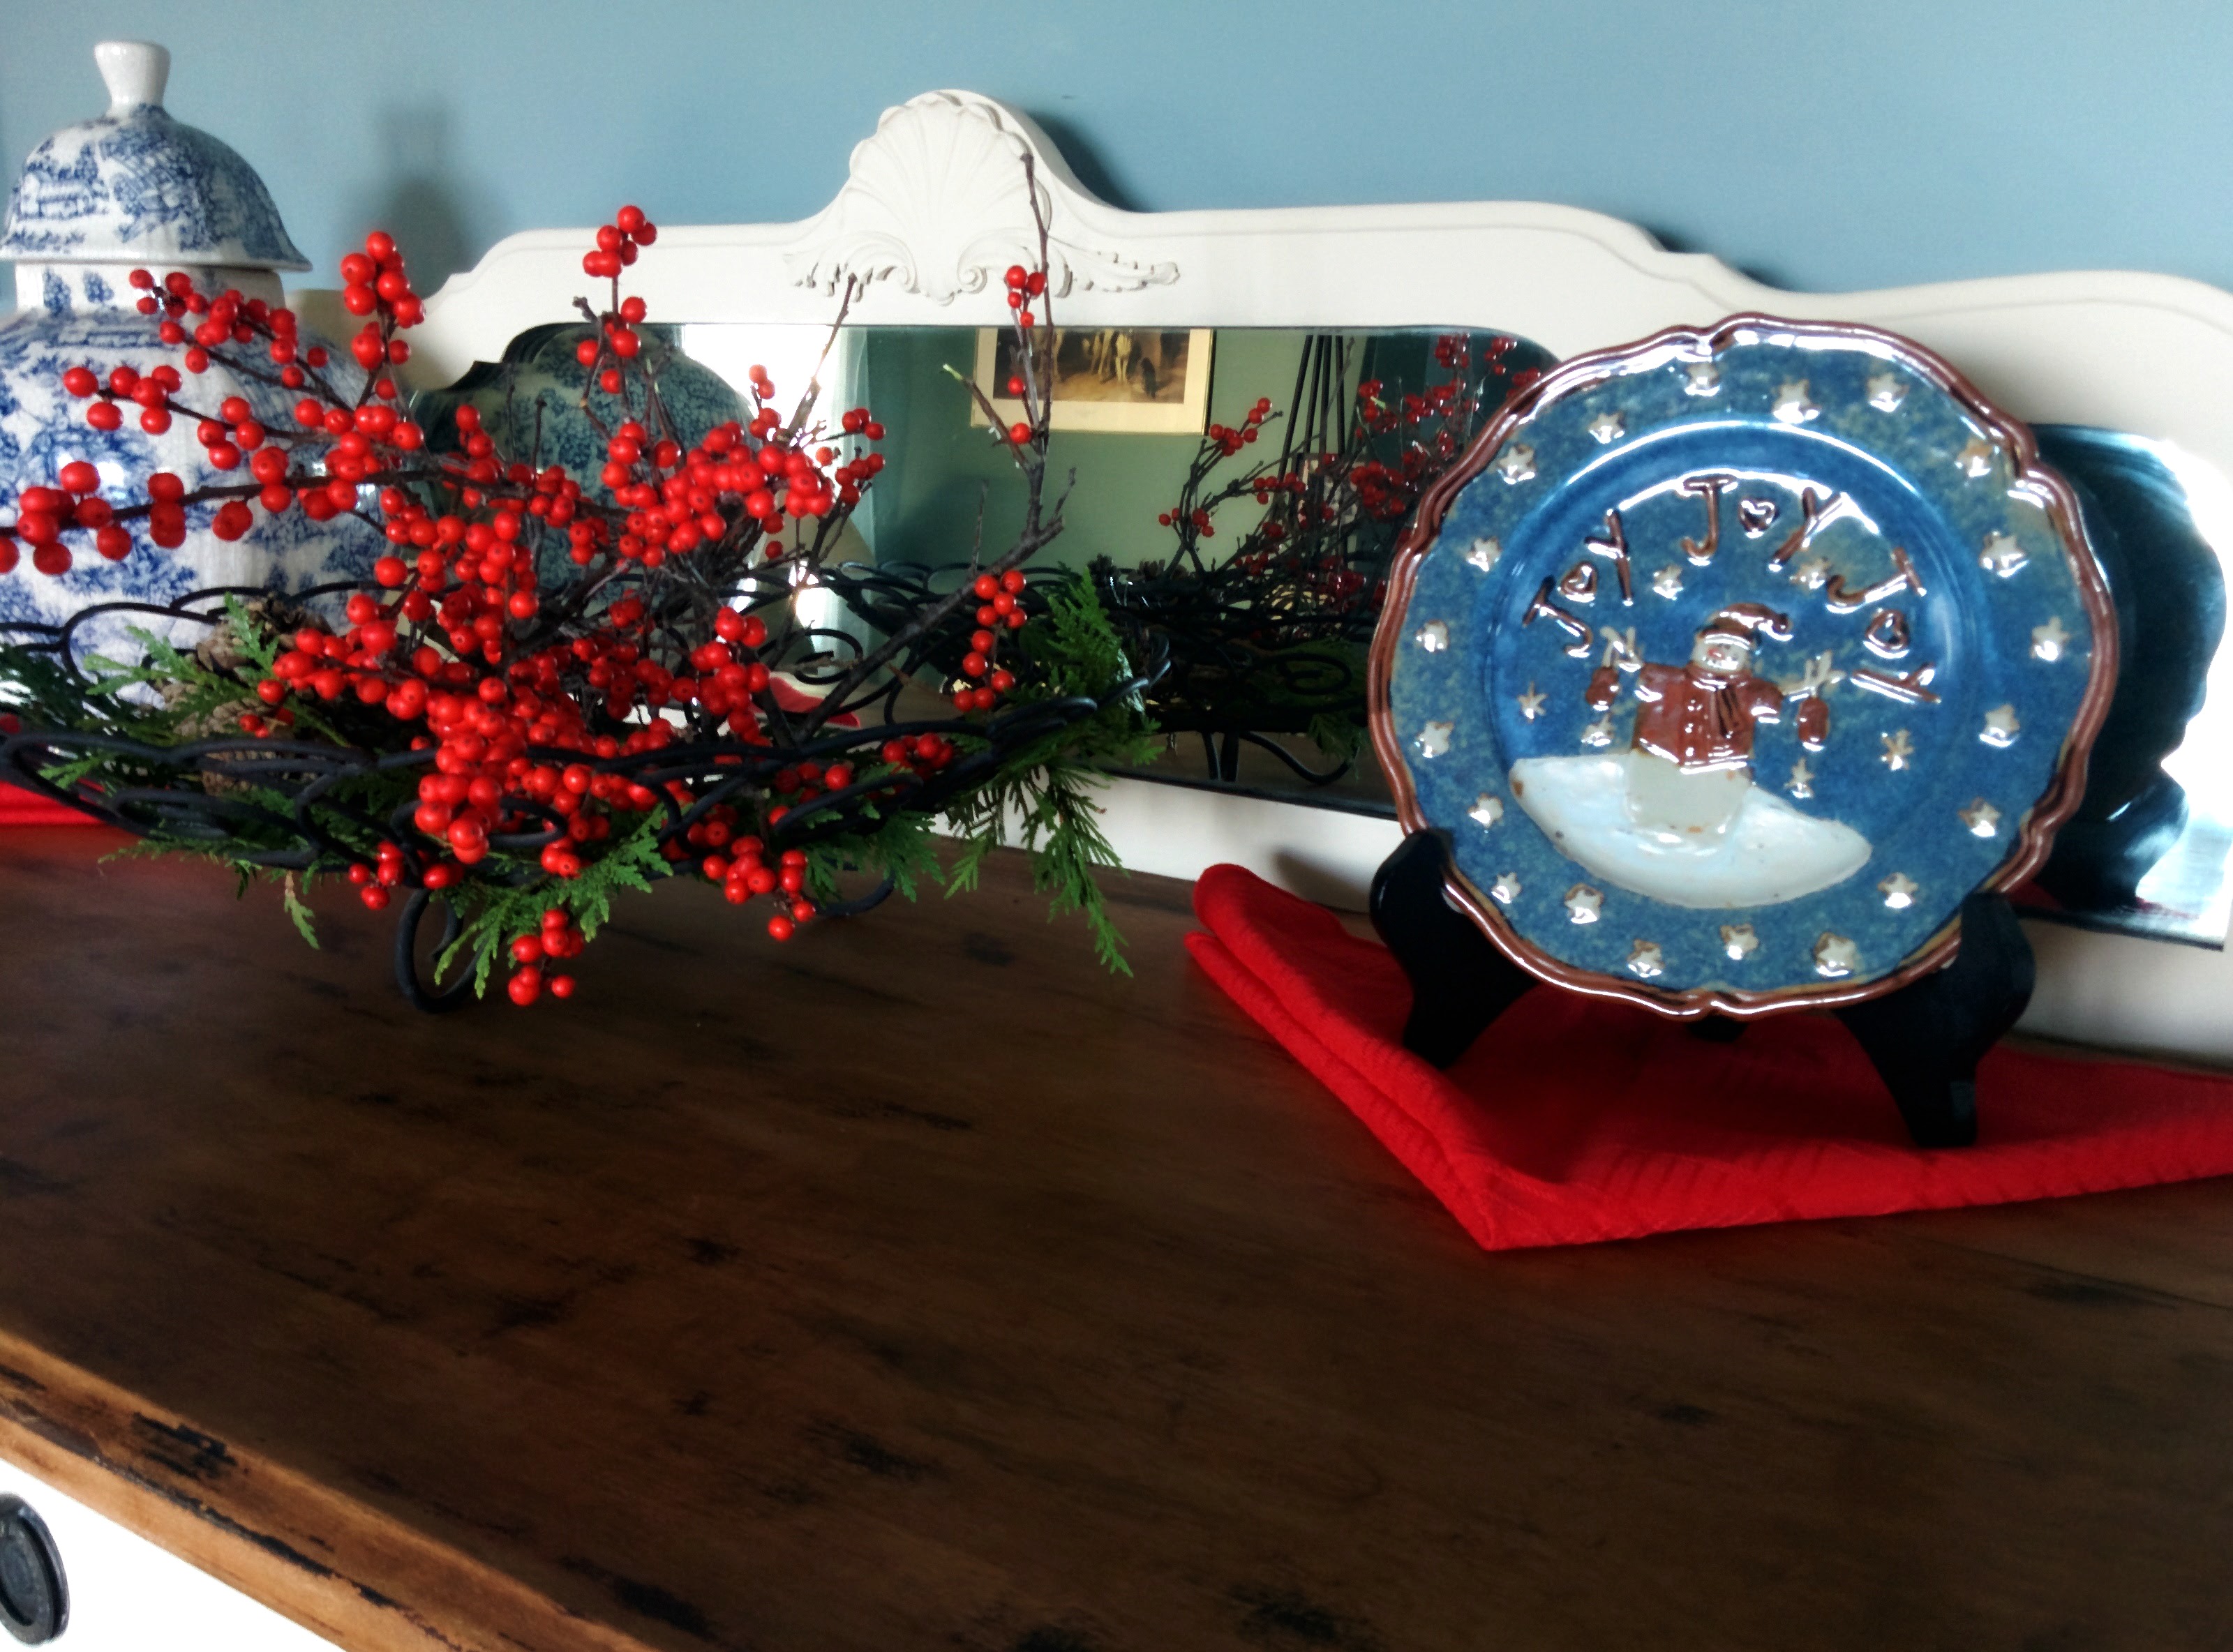
The rooms on the tour will be the dining room, living room, outdoors, and the guest bathroom. All of these rooms will have that eclectic-antique-ish “mixed with the new” feel, with the main decor ingredients being a dash of cedar, a handful of fresh winter berries, and a pinch of anything red! Stay tuned for more! 🙂12

Toilet Paper Snowman!

10

OK… Today I decided to become a super-creative-genius! My husband doesn’t necessarily agree, ha — but come on…. this little guy is pretty-darn cute! Even better, he took like 5 seconds to make! (Ok, maybe like 5 minutes, but you get the point!)

All you need:

3 Toilet Paper Rolls

Black & Orange Markers

Mr. Potato’s Hat (Yes, that’s right… I stole my kids Mr. Potato hat — Genius!)

All I did was color on my snowman’s eyes, mouth, nose, buttons, arms and shoes… stuck a hat on top, and Viola! I hope that you enjoyed this super-simple, super-cute, super-fast, way to “Christmas-Up” the guest bathroom!