
It’s amazing what you can do with a little bit of paint and some new flooring! When we first looked at purchasing our home, it was the large open space that got us! (Definitely not the once-white carpet!)

We thought oh man, how amazing would this space look with hardwood floors in it?! After we decided to make this house our home, I started dreaming of new hardwood floors, but didn’t actually think it would be something that we would be able to afford anytime soon.

Then, one day, we were just randomly shopping at Home Depot, and happened upon this beautiful hardwood flooring on sale for super cheap! I was about 98% sure that it matched the color of the hardwood already present in our dining room. We quickly snatched up a sample and ran home to check… and it did! Yipee! We were one step closer to getting our hardwood floors!
Although we could afford the flooring, we were not 100% sure that we could afford to pay for someone to install it, or that we wanted to pay someone to install it.
This lead to a quick phone call to my parents, to see if maybe they would help us, since they had previously installed hardwood flooring (that they made themselves from trees on the farm!). They said yes, and that they had all of the equipment that we needed and would bring it!
My parents live about 5.5 hours away and are always super busy with their farming, so I had a little bit of time to do the prep work before they got here.

The very first steps that I took were to remove the baseboard, and then start ripping up the carpet. When I removed the baseboard, I was very careful to label the baseboard itself and the wall where it came from, so I would know where to put it back.
Once I had ripped all of the carpet out, I thought, oh man… if we ever want to paint these walls, now’s definitely the time to do it! So I called up my husband at work, and said hey… I kind of want to paint too! Not really having that much of a choice, he said ok fine, and that night we went to pick out our paint colors. The next morning I started painting!


As you can see, we actually decided to paint the living room two colors to give it a little more dimension. (Please ignore the mess!)
After all of my carpet was ripped up, and my walls were painted, my parents headed up, and it was time to start installing the floors!

Row by row, we got it done. 564 square feet of hardwood flooring banged out in two days!
Here are the after pictures… What do you think? Would you choose before or after?!

Psst! Like these Oak Gunstock floors? Get your own here: Elk Mountain Oak Gunstock Dark 3/4 x 5″ Hand Scraped SOLID Hardwood Flooring FH261 SAMPLE


*This post may contain affiliate links*


 I’ve always wanted a monogrammed letter for my home… the letter ‘G’, to be exact, for our last name, Griffore! For years and years, I have been looking every time I hit up a Michaels or Winners… but every time that I found one that I really liked, it was just a little bit more money than I wanted to spend on a single letter. Especially when I kept thinking how easy it would be to make one…


 This room is soooo messy and embarrassing, you aren’t even getting one tiney-tiny little shot of the disaster zone! My daughter went through this little phase where she would open all of the cupboards and drawers and pull EVEREYTHING out…. And after numerous attempts of piecing the room back together, I just finally gave up! This room is actually my “Zebra Dressing/Craft Room”…. Meaning it’s full of tiny little things, like make-up, nail polish, jewelry, paint, glue, beads, ribbon, etc…. all of the stuff that gets super messy, tangled up, and super unorganized! (Hey – that sounds a lot like my life, just in general! Lol)
 Looking pretty good, right?! NOT! Still a super-long ways to go!!!!
 Now, see these drawers and cupboards?! I am going to take full advantage of them! I am going to go through each one, one at a time, and sort all of the contents into the piles that I mentioned above, and then each pile will be transferred into one of the cupboards or drawers.
 Ok, so here they are! All emptied and wiped down! Looking good – for real this time!
 And my cupboards…. Empty and clean!
 By emptying and cleaning everything, I’ve sort of accomplished the feeling of starting with a clean slate! So now, it’s time to put everything back together…. Before just throwing everything all jumbled back into the cupboards and drawers, I made a plan of what is going to go where.
 As you can see in the photo above, I still decided to keep a miscellaneous or better known as a “junk drawer” – because let’s face it, you are always going to end up with some things that don’t fit into a dedicated category, or that you just don’t have the heart to throw out!
 Do you have a bunch of left over wine corks, like I do?! I have so many saved up from over the years, and they are just so pretty that I never have the heart to throw them out! Well it’s finally time to figure out what to do with these little guys, so I started taking a look on





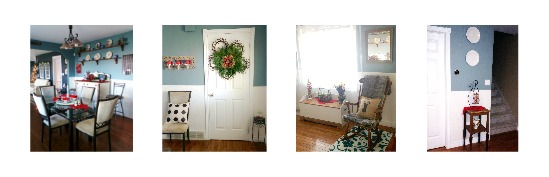
 This super-cozy, yet simple corner, is my favorite place to sit and read a magazine, or just take some time out of my busy day to relax. Believe it or not, this solid-wood rocking-chair came from a thrift store for 25 dollars, and is totally one of the best 25 dollars that I ever spent! I used a faux fur blanket and a hand-made burlap pillow to make this area soft and comfy!


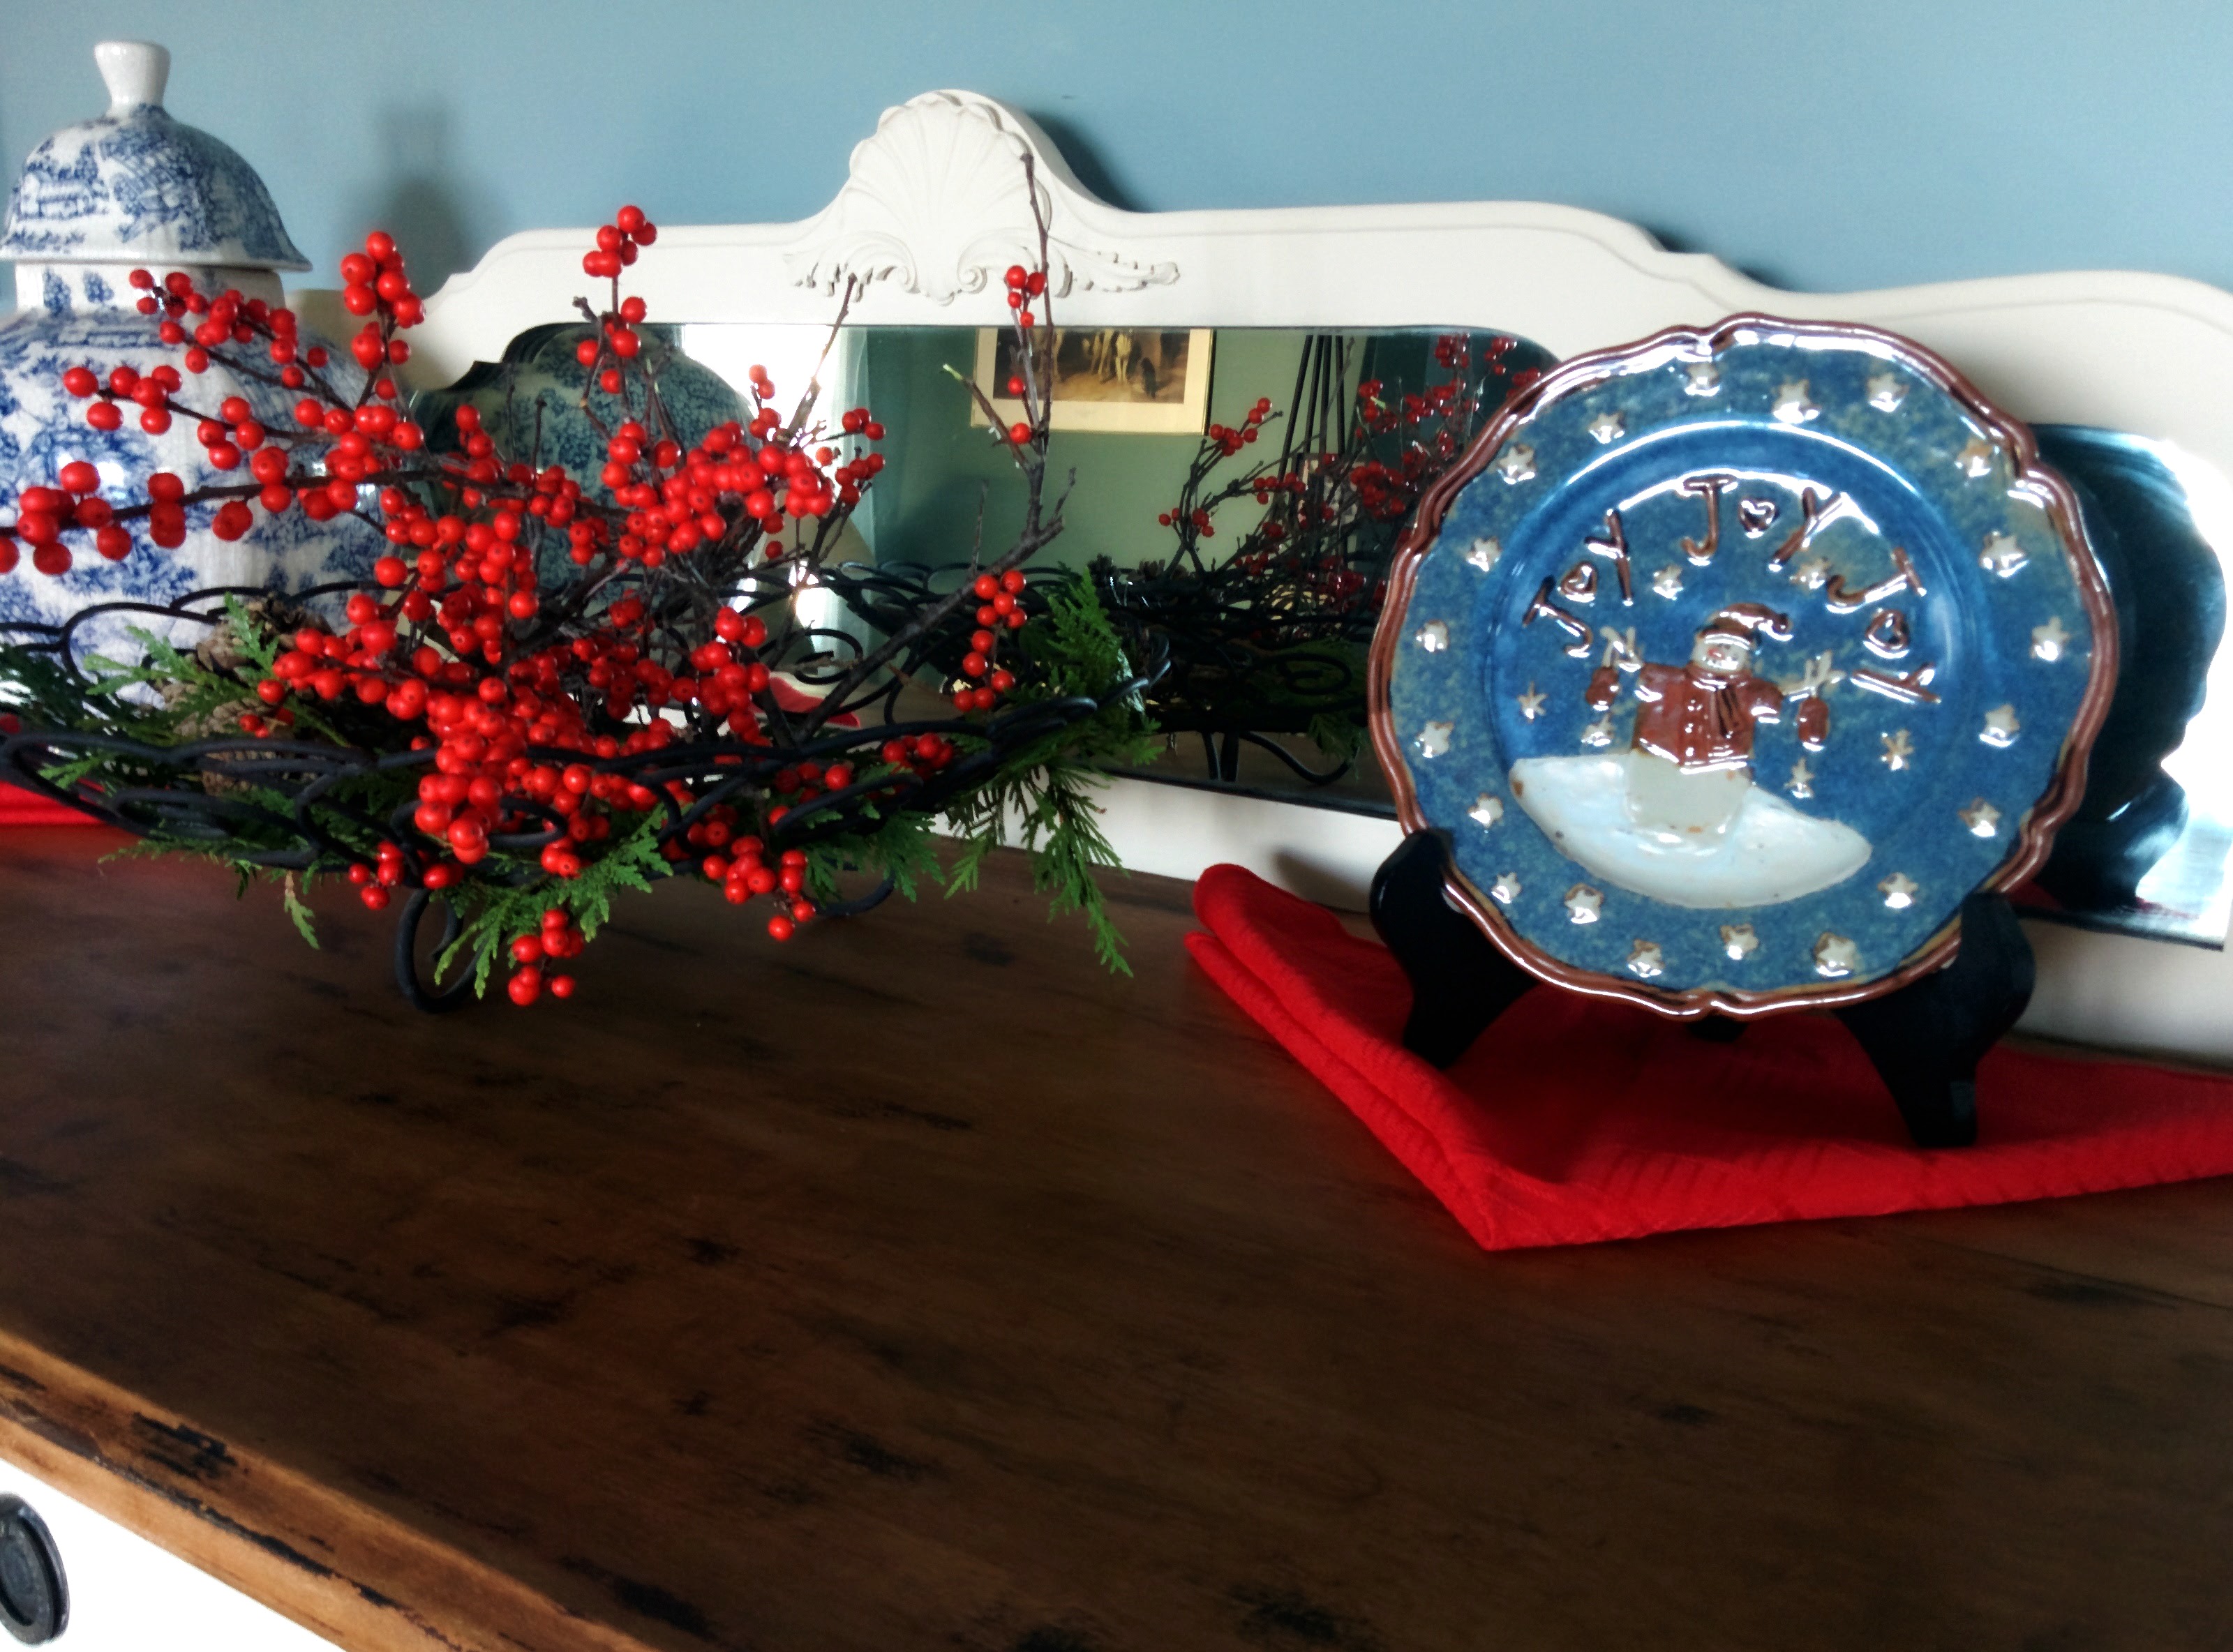
 The rooms on the tour will be the dining room, living room, outdoors, and the guest bathroom. All of these rooms will have that eclectic-antique-ish “mixed with the new” feel, with the main decor ingredients being a dash of cedar, a handful of fresh winter berries, and a pinch of anything red! Stay tuned for more! 🙂